The Importance of a Woodworking Workbench
If you’re a woodworking enthusiast, then you know that having the right tools is crucial to producing quality work. But did you know that your workbench is one of the most important tools in your arsenal? A sturdy and well-designed workbench can make all the difference when it comes to creating precise cuts, assembling pieces, and applying finishes.
One of the key benefits of having a woodworking workbench is that it provides a stable base for your projects. When you’re using power tools or hand tools, you need a surface that won’t wobble or shift.
A good workbench will provide just that, allowing you to focus on the task at hand without worrying about safety concerns. Additionally, many workbenches come with built-in clamps or vises that can hold your pieces in place while you work on them.
My Personal Experience With Building a Dream Workbench
As someone who’s been passionate about woodworking for years, I knew early on that I needed a great workbench to support my projects. I spent months researching different designs and materials before settling on my dream bench – a sturdy oak behemoth with ample storage space and handy features like built-in electrical outlets. Of course, building such an ambitious project wasn’t easy.
It took weeks of planning and preparation just to gather all the necessary materials! Then came the actual construction process – sawing boards to size, sanding them down until they were perfectly smooth – not to mention installing all those drawers and shelves.
But despite all the challenges involved in building my dream woodworking bench, it was worth it in every way possible! Every time I step into my workshop now, I’m greeted by this amazing piece of furniture that helps me create beautiful pieces day after day.
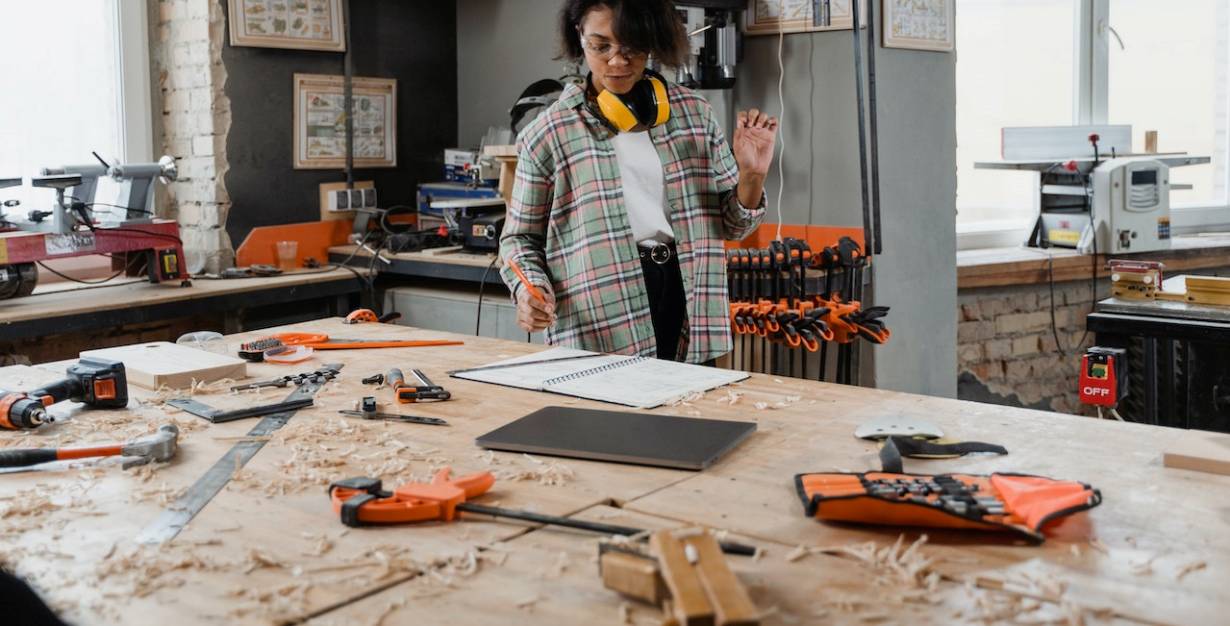
Planning Your Workbench
Choosing the Right Size and Height for Your Needs
When planning your woodworking workbench, it’s important to choose the right size and height for your needs. The size of your workbench will depend on the space you have available in your workshop, as well as the types of projects you’ll be working on.
If you’re a hobbyist, a smaller bench may be sufficient, but if you’re a professional woodworker or plan to tackle large projects, a larger bench may be necessary. Another important consideration is the height of your workbench.
You’ll want to make sure that it’s comfortable to work at for extended periods of time. A good rule of thumb is to make the bench height around hip level, so your arms are at a comfortable 90-degree angle when working.
Selecting the Best Materials for Your Budget and Preferences
When selecting materials for your woodworking workbench, there are several options available depending on your budget and preferences. Some popular choices include hardwoods like oak or maple, which are sturdy and durable but can be expensive. Alternatively, softwoods like pine or spruce are more affordable but may not be as durable over time.
Other materials commonly used in workbenches include plywood or MDF (medium-density fiberboard), which can provide a smooth surface and are less prone to warping than solid wood. However, they may not have the same strength or durability as solid wood.
Ultimately, it’s important to choose materials that will meet your needs while staying within budget. Many woodworkers also enjoy using reclaimed materials like old doors or cabinets for their bench tops – this can add character and save money at the same time!
Building Your Workbench
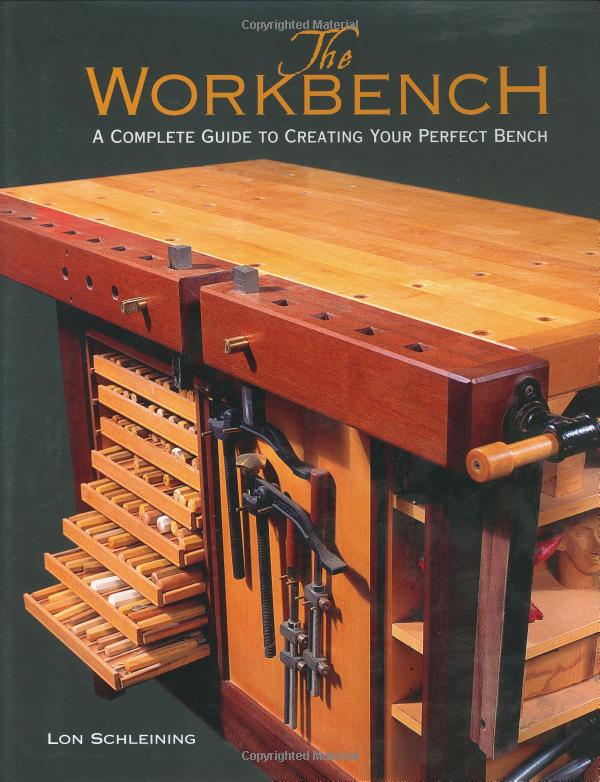
The Workbench: A Complete Guide to Creating Your Perfect Bench
In this contemporary look at the world of workbenches, Lon Schleining takes us on a guided tour of a wide variety of classic, modern, and specialty benches and offers hundreds of options for choosing or building that perfect bench and its accessories.
Step-by-Step Guide to Building a Sturdy and Functional Workbench
Now that you have planned your dream woodworking workbench, it is time to start building! This section will walk you through the necessary steps for building a sturdy and functional workbench that is designed to meet your specific needs.
The first step is to gather all of the necessary materials and tools. This includes wood boards for the tabletop, legs, and framing; screws or bolts for assembly; a saw for cutting the wood; a sander or sandpaper for smoothing out any rough edges; and clamps or vice grips to hold the pieces together during assembly.
Next, cut all of your wood pieces to size according to your plans. Make sure each piece is cut accurately and straight, as this will impact the overall stability of your workbench.
Now it’s time to assemble your workbench. Start by attaching the legs securely to the tabletop using screws or bolts.
Then add in any additional framing pieces or supports as needed. Sand down any rough edges or splinters before moving on to adding custom features.
Tips for Cutting, Sanding, and Assembling Your Workbench
When cutting your wood boards to size, it’s important to use a saw that can handle both straight cuts and angled cuts if needed. A circular saw is a good option for making quick straight cuts while also allowing you some flexibility with angled cuts.
Assembling your workbench can be challenging without proper support. To make things easier on yourself, use clamps or vice grips to hold pieces together as you assemble them.
This will prevent wobbling or shaky joins which could ruin stability in final product causing frustrating downtime. When sanding down rough edges of your work surface after assembly be mindful of using appropriate grits depending on what finish you plan apply afterwards.
Finer grits will create a smoother finish but also reduce adhesion of finish to wood. By following these tips and completing the necessary steps, you will be on your way to creating a sturdy and functional woodworking workbench that can last for years to come.
Adding Custom Features to Your Workbench
Ideas for Customizing Your Workbench with Storage
One of the biggest advantages of building your own workbench is that you can customize it to perfectly suit your needs. If you’re someone who likes to keep all their tools and supplies organized and within arm’s reach, then adding storage features is a must.
Consider adding shelves or drawers underneath the work surface or even attaching pegboards or cabinets to the sides of the bench for additional storage. Another great option for storage is building a tool well into your workbench.
This can be achieved by cutting a rectangular opening into the center of the benchtop and lining it with plywood or another sturdy material. This allows you to keep frequently used tools in easy reach without cluttering up your workspace.
Lighting Up Your Workspace
Good lighting is essential when working on any project, but it’s especially important when working with wood. To ensure that your workspace is well-lit, consider adding lighting features such as task lamps, overhead lighting fixtures, or adjustable light bars.
You can also attach LED strips underneath shelves and cabinets for additional ambient lighting. If you’re looking to add some personality to your workspace while also improving visibility, consider installing colored lights or light fixtures made from unique materials like repurposed pipes or rustic wood.
Creative Ways to Make Your Workbench Unique
Get creative and think outside-the-box when considering ways to make your workbench uniquely yours! Paint it in bold colors or designs that express your personality; attach hooks on the side for hanging plants; install a chalkboard panel on one end so you can write down measurements and notes as you work; add casters so you can move it around easily.
The possibilities are endless! By customizing your workbench in creative ways that reflect who you are and how you work, you’ll not only enjoy spending time in your workspace but also feel inspired to tackle all your woodworking projects with renewed enthusiasm.
Maintaining Your Workbench
After you’ve finished building your dream woodworking workbench, it’s important to take proper care of it to ensure that it lasts for many years to come. Here are some tips for keeping your workbench in top condition:
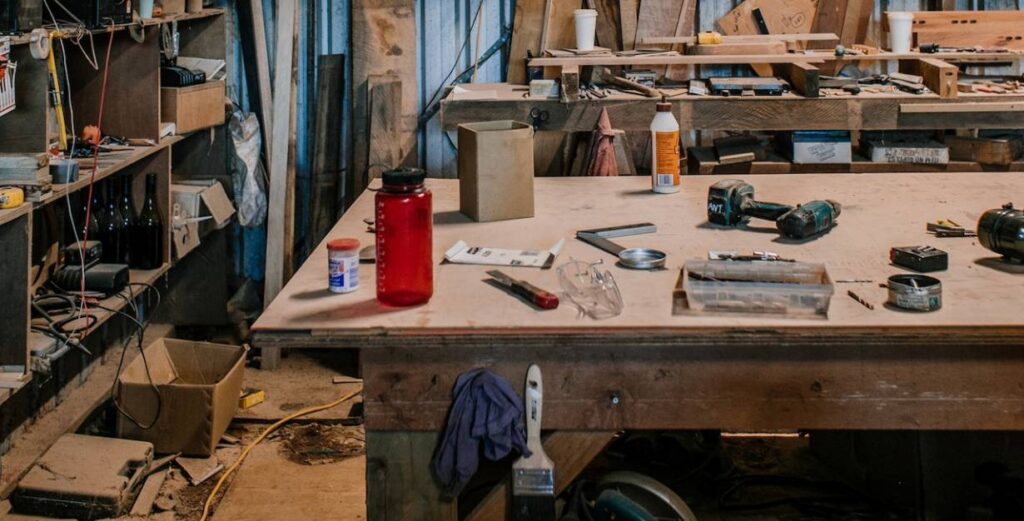
Keep It Clean
One of the easiest ways to maintain your workbench is by keeping it clean. This means wiping down the surface after each use, sweeping up sawdust and debris from the floor around it, and making sure that any spills are cleaned up promptly. A clean work area not only looks more professional, but it also helps to prevent damage from occurring due to build-up of sawdust or other debris.
Protect The Surface
The surface of your workbench is one of the most crucial elements that needs protecting. To prevent scratches or dents, be sure to use protective mats or pads when using tools such as clamps or heavy machinery on the surface. If you accidentally damage the surface, don’t panic – many types of wood can be sanded down and refinished to look as good as new.
Troubleshooting Common Problems with Your Workbench
No matter how well-built your woodworking workbench is, there may come a time when you encounter problems with its functionality. Here are some common issues and how to troubleshoot them:
Loose Joints
If you notice that joints on your workbench have become loose over time, don’t fret! This is a common issue that can easily be fixed by tightening screws or adding additional reinforcement (such as brackets) where necessary.
Bowed Surface
If you begin noticing a bowing in the surface of your workbench, this could be due to changes in humidity or temperature. To fix this, try sanding the surface down and then resealing it with a protective coating. You may also want to invest in a dehumidifier for your workspace to prevent future issues.
Cracks or Splits
If you notice any cracks or splits in the wood of your workbench, it’s important to address them as soon as possible. Depending on the severity of the damage, you may be able to simply fill in the cracks with wood filler and sand them down.
However, if the damage is more extensive, you may need to replace certain sections of wood entirely. By following these tips for maintaining and troubleshooting your woodworking workbench, you can ensure that it remains a reliable and functional part of your workshop for years to come.
Conclusion
Final Thoughts on Building the Perfect Woodworking Workbench
Building a woodworking workbench can be a challenging but rewarding experience. It takes time, effort, and dedication to create the perfect workspace that meets your specific needs. But in the end, it’s worth it.
Having a sturdy and functional workbench will make your woodworking projects easier and more enjoyable. When building your dream workbench, remember to take your time and plan carefully.
Think about how you will use the bench and what features will be most important to you. Consider adding custom features such as storage or lighting to make your workspace even more functional.
Encouragement to Get Started on Creating Your Own Dream Workspace
If you’re feeling overwhelmed by the idea of building a woodworking workbench, don’t worry. You don’t have to do everything at once.
Start small by gathering materials or planning out your design. Then take one step at a time and build your bench as you go.
Remember that building a workbench is not just about creating a functional workspace – it’s also about expressing yourself creatively. Add personalized touches to make it unique to you, such as painting or carving designs into the wood.
So go ahead – start building your dream woodworking workbench today! With patience and dedication, you’ll soon have a beautiful and functional workspace that makes woodworking even more enjoyable than before.