The Art of DIY Woodworking
Are you looking for a fun and creative way to transform your home? Look no further than DIY woodworking!
With the right tools and materials, anyone can create custom furniture and decor pieces that are as unique as they are functional. Not only will you save money by making these pieces yourself, but you’ll also have the satisfaction of knowing that every detail was crafted by your own hands.
My Personal Experience with DIY Woodworking
As someone who is passionate about both design and working with my hands, I was drawn to woodworking as a way to bring my ideas to life. I started small, creating simple shelving units and picture frames, but soon found myself tackling more advanced projects like coffee tables and bookcases. Each new piece was a challenge, but the sense of accomplishment I felt after completing it was truly invigorating.
The Benefits of DIY Woodworking for Home Decor and Furniture
There are many benefits to making your own furniture and decor pieces through DIY woodworking. First and foremost is the sense of pride that comes from creating something with your own two hands. Additionally, handmade pieces allow you to fully customize every aspect of the design – from the type of wood used to the finishes applied – ensuring that each piece perfectly suits your style.
Another benefit is cost savings – while high-quality furniture can be expensive when purchased at retail prices, making it yourself can often be done at a fraction of the cost. Plus, when you make your own furniture or decor pieces through woodworking, you have complete control over the quality of materials used – ensuring that each piece is built to last.
There’s no denying that handmade furniture just looks cool! A unique piece made by hand instantly adds character and charm to any room in which it’s placed – creating a space that reflects not only your design style, but also your personality.
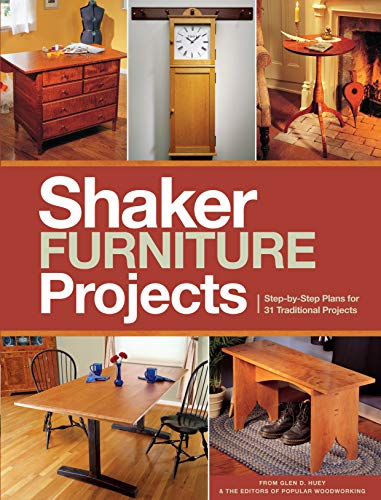
Popular Woodworking’s Shaker Furniture Projects: Step-by-Step Plans for 31 Traditional Projects
Getting Started with DIY Woodworking
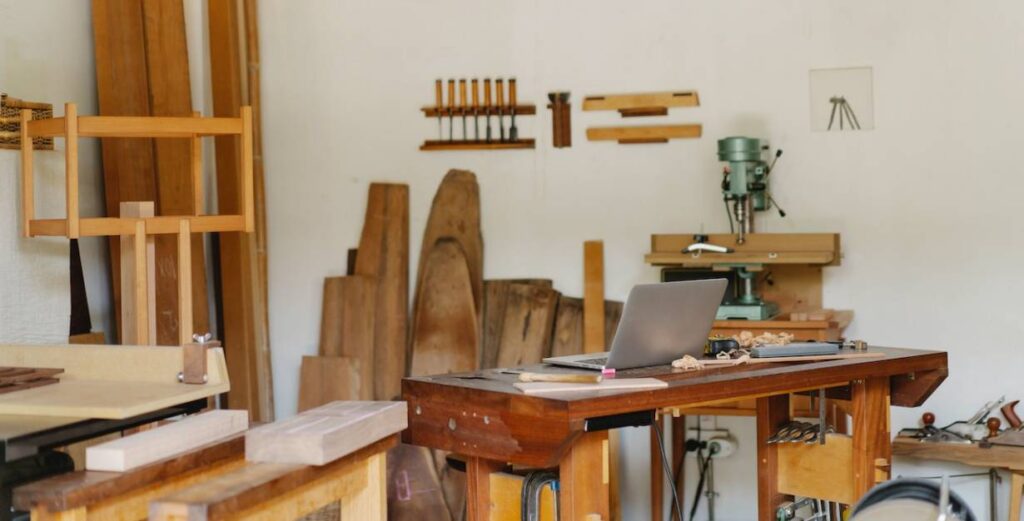
Basic Tools and Materials Needed for Woodworking Projects
If you’re just getting started with woodworking, it can be overwhelming to figure out what tools and materials you need. But don’t worry – you don’t need to break the bank on expensive equipment.
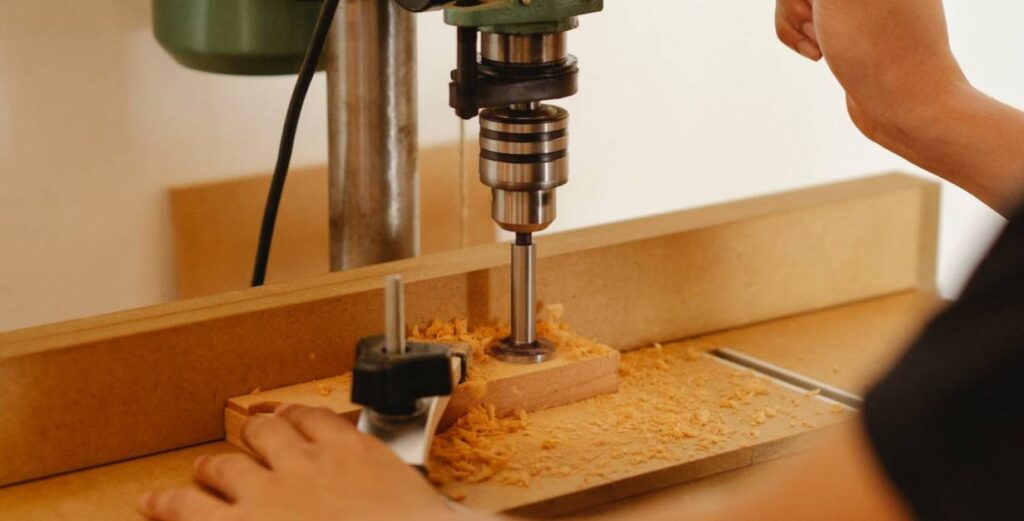
Here are some of the basic tools and materials that every beginner should have in their toolkit: 1. Handheld power saws: A circular saw or jigsaw is essential for making straight and curved cuts, respectively.
2. Handheld power drill: You’ll need this versatile tool for drilling holes, driving screws, and more. 3. Clamps: These come in various sizes and shapes to help hold your workpiece in place while working on it.
4. Hammer: A claw hammer is useful for assembling furniture and nailing down pieces of wood that aren’t being held in a clamp. 5. Measuring tools: You’ll need a measuring tape or ruler to ensure your cuts are accurate.
6. Sandpaper/sander: After cutting your pieces, sanding smooths the rough edges so they will fit together better 7. Wood glue : It’s an essential tool especially if you’re dealing with joints
Safety Tips and Precautions to Keep in Mind
Working with wood can be dangerous if proper safety precautions aren’t taken seriously. Here are some tips to keep yourself safe: 1. Wear protective gear – This includes goggles or safety glasses, earplugs (if using power tools), gloves (to protect your hands from splinters), long sleeves/shirts
2. Work in a well-ventilated area – When cutting or sanding wood, dust particles can become airborne which can be harmful when breathed in 3. Follow instructions carefully – Each tool should come with instructions on how it should be used properly.
4. Keep your workspace organized – It’s important to maintain a clean workspace to avoid tripping hazards and ensure you are easily able to find the tools and materials you need. 5. Cut away from your body – Always cut with the blade moving away from your body in case of any mishaps
6. Be patient: Do not rush or force a cut, take time and let the machine do its work. By following these safety tips and having the proper tools and materials, you can minimize risk while enjoying all of the joys that woodworking has to offer.
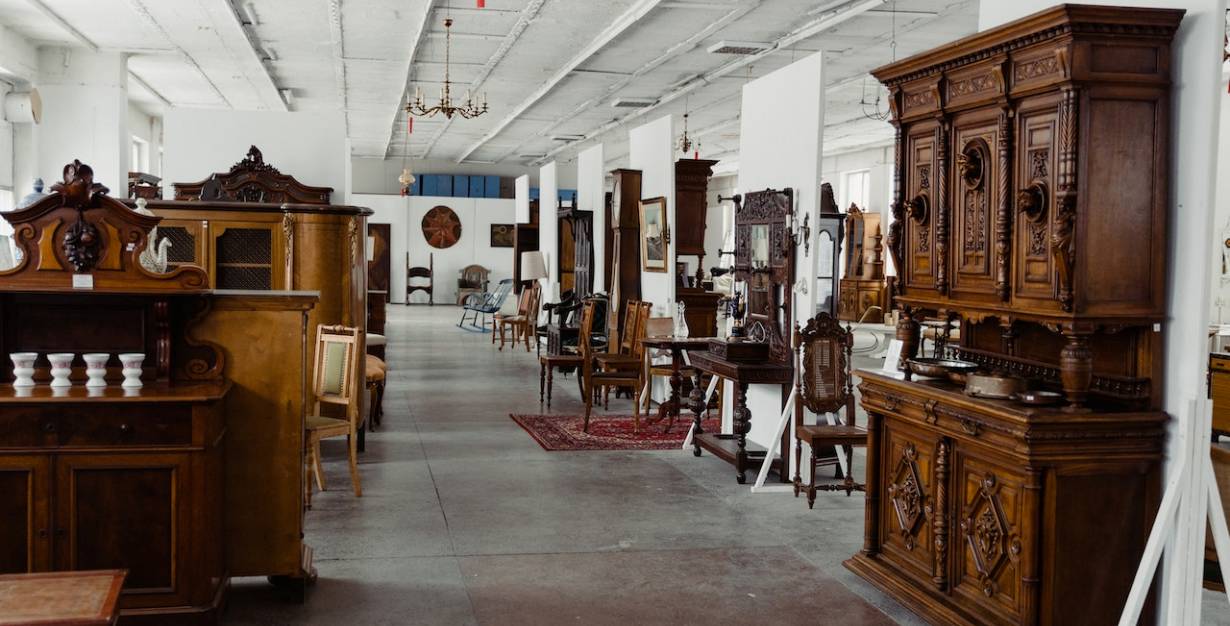
Custom Furniture Ideas for Every Room
The Living Room: Coffee Tables, Bookshelves, Entertainment Centers
The living room is often the most used space in a home, so making it comfortable and functional is crucial. One way to achieve this is by building custom furniture pieces that fit your specific needs and style.
Coffee tables are a staple in any living room and can be made with a variety of materials such as reclaimed wood or live-edge slabs for a rustic look or even sleek modern designs using acrylic or metal. Bookshelves not only provide storage but also add visual interest to the room.
They can be built-in or freestanding, and there are endless possibilities when it comes to design options such as ladder shelves or corner units. For those who enjoy movie nights, an entertainment center can be customized to fit your TV size, sound system requirements, and storage needs.
The Bedroom: Headboards, Nightstands, Dressers
The bedroom should be a peaceful sanctuary where you can relax and unwind after a long day. Customizing furniture pieces in this space allows you to create a cohesive look that matches your personal style. A headboard can serve as the focal point of the room while also providing back support when sitting up in bed.
Nightstands offer convenient storage for books, lamps, or any other items you like to keep nearby while sleeping. Dressers are another essential piece of bedroom furniture that can be made in various sizes and styles depending on your storage requirements.
The Dining Room: Dining Tables, Chairs, Buffets
The dining room is where family and friends gather for meals and special occasions so having comfortable seating options is important. Building custom dining chairs allows you to choose the perfect height, width, and padding for each member of your family’s needs.
Dining tables come in many shapes including round or rectangular, and can be made with different types of wood or even concrete for a unique look. Buffets provide additional storage for dishes, linens, and serving ware while also adding to the overall aesthetic of the room.
Custom furniture pieces not only add character to a room but can also be functional and affordable when done yourself. Whether you’re creating a focal point with a coffee table or building a storage solution with bookshelves, customizing your furniture allows you to make the most out of your space while adding your own personal touch.
Decorative Woodworking Projects for Your Home
Wall art: wooden signs, picture frames, shelves
Wooden signs, picture frames, and shelves are easy to make and can add a personal touch to your home decor. For a rustic look, use reclaimed wood or distress new wood with sandpaper and a hammer.
You can use stencils or freehand painting to add words or designs to your wooden signs. For picture frames, cut the wood at an angle to create a mitered corner joint.
Use glue and clamps to hold the frame together while it dries. Shelves can be made in any size and shape you desire by cutting the wood with a saw and attaching brackets for support.
Kitchen accents: cutting boards, spice racks
Cutting boards are essential for any kitchen and can be made from various types of wood such as maple or walnut. Sand the board until smooth and apply food-grade mineral oil to protect the wood from moisture damage.
Spice racks can be made using scrap wood or small pieces of lumber cut at an angle for an interesting shape. Use dowels or small pieces of wood to separate each shelf on the rack.
Bathroom accessories: towel racks, storage shelves
Towel racks are easy to make by attaching wooden pegs onto a board using screws or glue. The board can then be mounted onto the wall using brackets or hooks. Storage shelves in the bathroom provide extra space for towels, toiletries, and other essentials.
They can be made in various sizes depending on how much space is needed in your bathroom. Whether you’re decorating your living room walls with custom-made wooden signs or adding functional elements like cutting boards into your kitchen routine – decorative woodworking projects are fun ways to enhance your home decor while also showcasing your creative skills.
These DIY projects let you personalize each item to your taste and style preferences, making them a unique addition to your home. Woodworking is a versatile craft that offers endless possibilities for customization and creativity, so let your imagination run wild!
Advanced Woodworking Techniques
Joinery techniques such as mortise and tenon joints
Joinery is an essential part of woodworking. Joinery refers to the way in which pieces of wood are connected or joined together to create a stronger and more durable structure. Mortise and tenon joints are some of the most commonly used joinery techniques in woodworking.
The mortise and tenon joint involves creating a hole or slot (the mortise) in one piece of wood that perfectly fits another piece (the tenon). This creates a strong, precise joint that can be used for furniture, cabinetry, and other projects.
Creating a mortise and tenon joint requires accuracy, precision, patience, and practice. One way to approach this technique is to have the right tools, including a chisel set with various sizes, marking knives or pencils for accurate measurements, clamps to secure your workpieces while you make your cuts, and saws for cutting both the mortises and tenons.
Carving and shaping wood using hand tools or power tools
Carving can add intricate detail to your woodworking project. With a little creativity – carving can turn an average-looking project into something truly extraordinary. There are two types of carving techniques: relief carving where only a portion of the wood is carved away leaving raised parts; or three-dimensional carving where chunks of wood are removed to get the desired shape.
You can carve by hand using chisels or knives – this is called hand-carving – or you can use power tools like grinders or power carvers which speeds up the process but often takes some getting used to before you feel comfortable with them. In general terms when carving by hand it’s best to start with larger blades before moving on finer blades so you don’t get lost in the details too quickly whilst finishing off with sandpaper.
Power carving tools are excellent for removing large amounts of wood quickly. They can be used to carve intricate details or to remove large chunks of wood.
Expert Tips
Advanced woodworking techniques like mortise and tenon joints are more challenging than basic techniques, but they are also more rewarding. Take your time and practice on scraps before moving on to your actual project.
Start with the mortise first, then finish with the tenon to avoid overcutting. Keep the chisels sharp and use a mallet for better control.
When shaping or carving, work slowly, letting the tool do the work so you don’t accidentally remove too much material. Practice on scrap pieces of wood first before working on your actual project.
Remember that carving requires patience and skill – it’s not something that you’ll master overnight. Using advanced techniques in woodworking can unlock new possibilities for creating unique furniture and decor pieces for every room in your home!
Tips for Finishing Your Woodworking Projects
Staining and Painting Techniques to Achieve Different Finishes
One of the benefits of DIY woodworking is that you have complete control over the look of your finished product. Staining and painting are two popular techniques for achieving a desired finish on your project.
When it comes to staining, there are many color options available. You can choose from oil-based or water-based stains and experiment with different application methods such as wiping or brushing on the stain.
It’s important to note that different types of wood will absorb stain differently, so it’s always a good idea to test your chosen stain on a scrap piece of wood before applying it to your project. If you decide to paint your project instead, there are endless color possibilities.
Before painting, make sure you properly prepare the surface by sanding it smooth and filling any cracks or gaps with wood filler. When it comes time to paint, choose a high-quality paintbrush or sprayer for even coverage.
Applying Protective Coatings Such as Varnish or Polyurethane
Once you’ve achieved the desired look for your project, it’s important to protect it with a clear coat such as varnish or polyurethane. These coatings not only add an extra layer of protection against scratches and stains but also enhance the natural beauty of the wood grain. Varnish is available in both oil-based and water-based formulas and can be applied using a brush or sprayer.
It’s important to note that varnish can take longer than polyurethane to dry between coats, so be sure to read the label instructions carefully. Polyurethane is also available in both oil-based and water-based formulas, but unlike varnish, it dries quickly between coats.
It’s recommended that you lightly sand between coats for optimal adhesion. No matter which protective coating you choose, be sure to apply it in a well-ventilated area and follow all safety precautions.
Troubleshooting Common Issues in DIY Woodworking
How to Fix Mistakes such as Uneven Cuts or Gaps in Joints
Despite our best efforts, mistakes can happen during a DIY woodworking project. One of the most common issues is an uneven cut or gap in joints.
This can be frustrating, but fortunately, there are ways to fix these mistakes without having to start over from scratch. If you have an uneven cut, start by marking where you want the correct cut to be made.
Then use a saw or a sander to shave off small amounts of wood until you reach your desired shape. If you have a gap in your joints, try using wood fillers such as epoxy or putty.
Spread the filler over the gaps and smooth it out with a putty knife. Once dry, sand it down until it blends seamlessly with the rest of the piece.
Strategies
Prevention is always better than cure when it comes to woodworking mistakes. Before starting any project, take time to plan out each step and measure twice before cutting once. Ensure that all tools are sharp and well-maintained so that they work effectively and prevent unnecessary accidents.
Another key strategy for avoiding mistakes is to practice patience when working on your project. Take breaks when necessary and avoid rushing through steps that require precision work such as cutting and measuring.
Don’t hesitate to seek advice from experienced woodworkers or online forums if you encounter any issues during your project. There is always someone who has faced similar challenges before and can offer helpful tips on how best to overcome them.
Conclusion
DIY woodworking can be incredibly rewarding – not just because of the satisfaction of creating something with your own hands but also because of how much money you can save by doing it yourself rather than buying expensive custom pieces from stores. However, it’s important to remember that woodworking is a skill that requires practice and patience to master.
Mistakes are bound to happen, but with the right strategies in place, they can be easily fixed or avoided altogether. So roll up your sleeves, grab your tools, and get started on transforming your home with DIY woodworking – you’ll be amazed by what you can accomplish!